Your Cart is Empty

6 Steps to An Organized Pantry
New year and best you can also mean finding your best space. Each month we dive into a different area of our homes to refresh and organize. First up is the kitchen pantry and refrigerator. I chose the pantry and fridge for January because normally mine are filled with extra cookie tins, leftovers from all the holiday meals and some expired sauces. I thought it would be a great time to get rid of the junk and restock our kitchens with all our colorful meal prep food items. Overall, this is a space that needs some serious TLC after the holiday hussle and bussle.
ORGANIZE YOUR: refrigerator + pantry
Now let's break it down! The following steps can be used to organize many spaces in your home, but for this month I am applying them to the pantry and refrigerator. If you are just starting your organizational process, I recommend taking a look at the "Let's Get Organized" section in the front of The Plan.

This step can be broken down into two parts: emptying the space and discarding items.
Empty | By emptying the space you allow yourself to view the entire space and all of the items you are working with. In spaces like the pantry and fridge where items fall to the back this is key in making sure no old items get left behind. These spaces can also be wiped down easier without anything cluttering the shelves.
Discard | Now that you can see all of the items from this space it is time to say goodbye to items that are expired, foods you know you won't eat, and sadly those month old Christmas cookies you've been saving for a rainy day. If you have extra shelf stable items with valid expiration dates, consider donating them to a local food pantry.

 Break out your measuring tape and your planner. Make sure to measure the height, length, and width of all of your shelves and drawers. Keep in mind tricky spaces like areas around door hinges or refrigerator door shelves that may impact the accessibility of other spaces. Record all of your measurements in The Plan for safe keeping.

You have your measurements, so now it's time to let your creativity flourish. I love to browse organizational Instagram accounts, take to Pinterest, or flip through magazines to find some inspiration. Then I take out some blank paper and get to sketching. When sketching remember to reference the measurements you recorded in the front of your planner.
This is the step where I select the type of products I will use. I love using clear bins and wire mesh bins in the pantry/kitchen, so that I am able to see when items are running low. If you are interested in learning more about the products I use check out our blog post from last January here!
 Products are key when organizing. Use the measurements you recorded and get shopping. You can shop my favorites below!

This is where you start to see your vision truly come to life, you've got the products that fit in your space, your items that fill the space and it's time to get busy. Start by placing your organizational products - make sure this is a system that works for you. Imagine your daily life and how you use this space.
 Everyone has different priorities and goals when organizing. Take elements from various systems to create one that makes your life the easiest. Once you've got the system down add your food items back into their newly revamped home!
The Plan Tip: My favorite system for organization is creating zones using similar items. In the pantry, I place all of the granola bars into one section, cookies/sweet snacks together, salty snack together, etc.

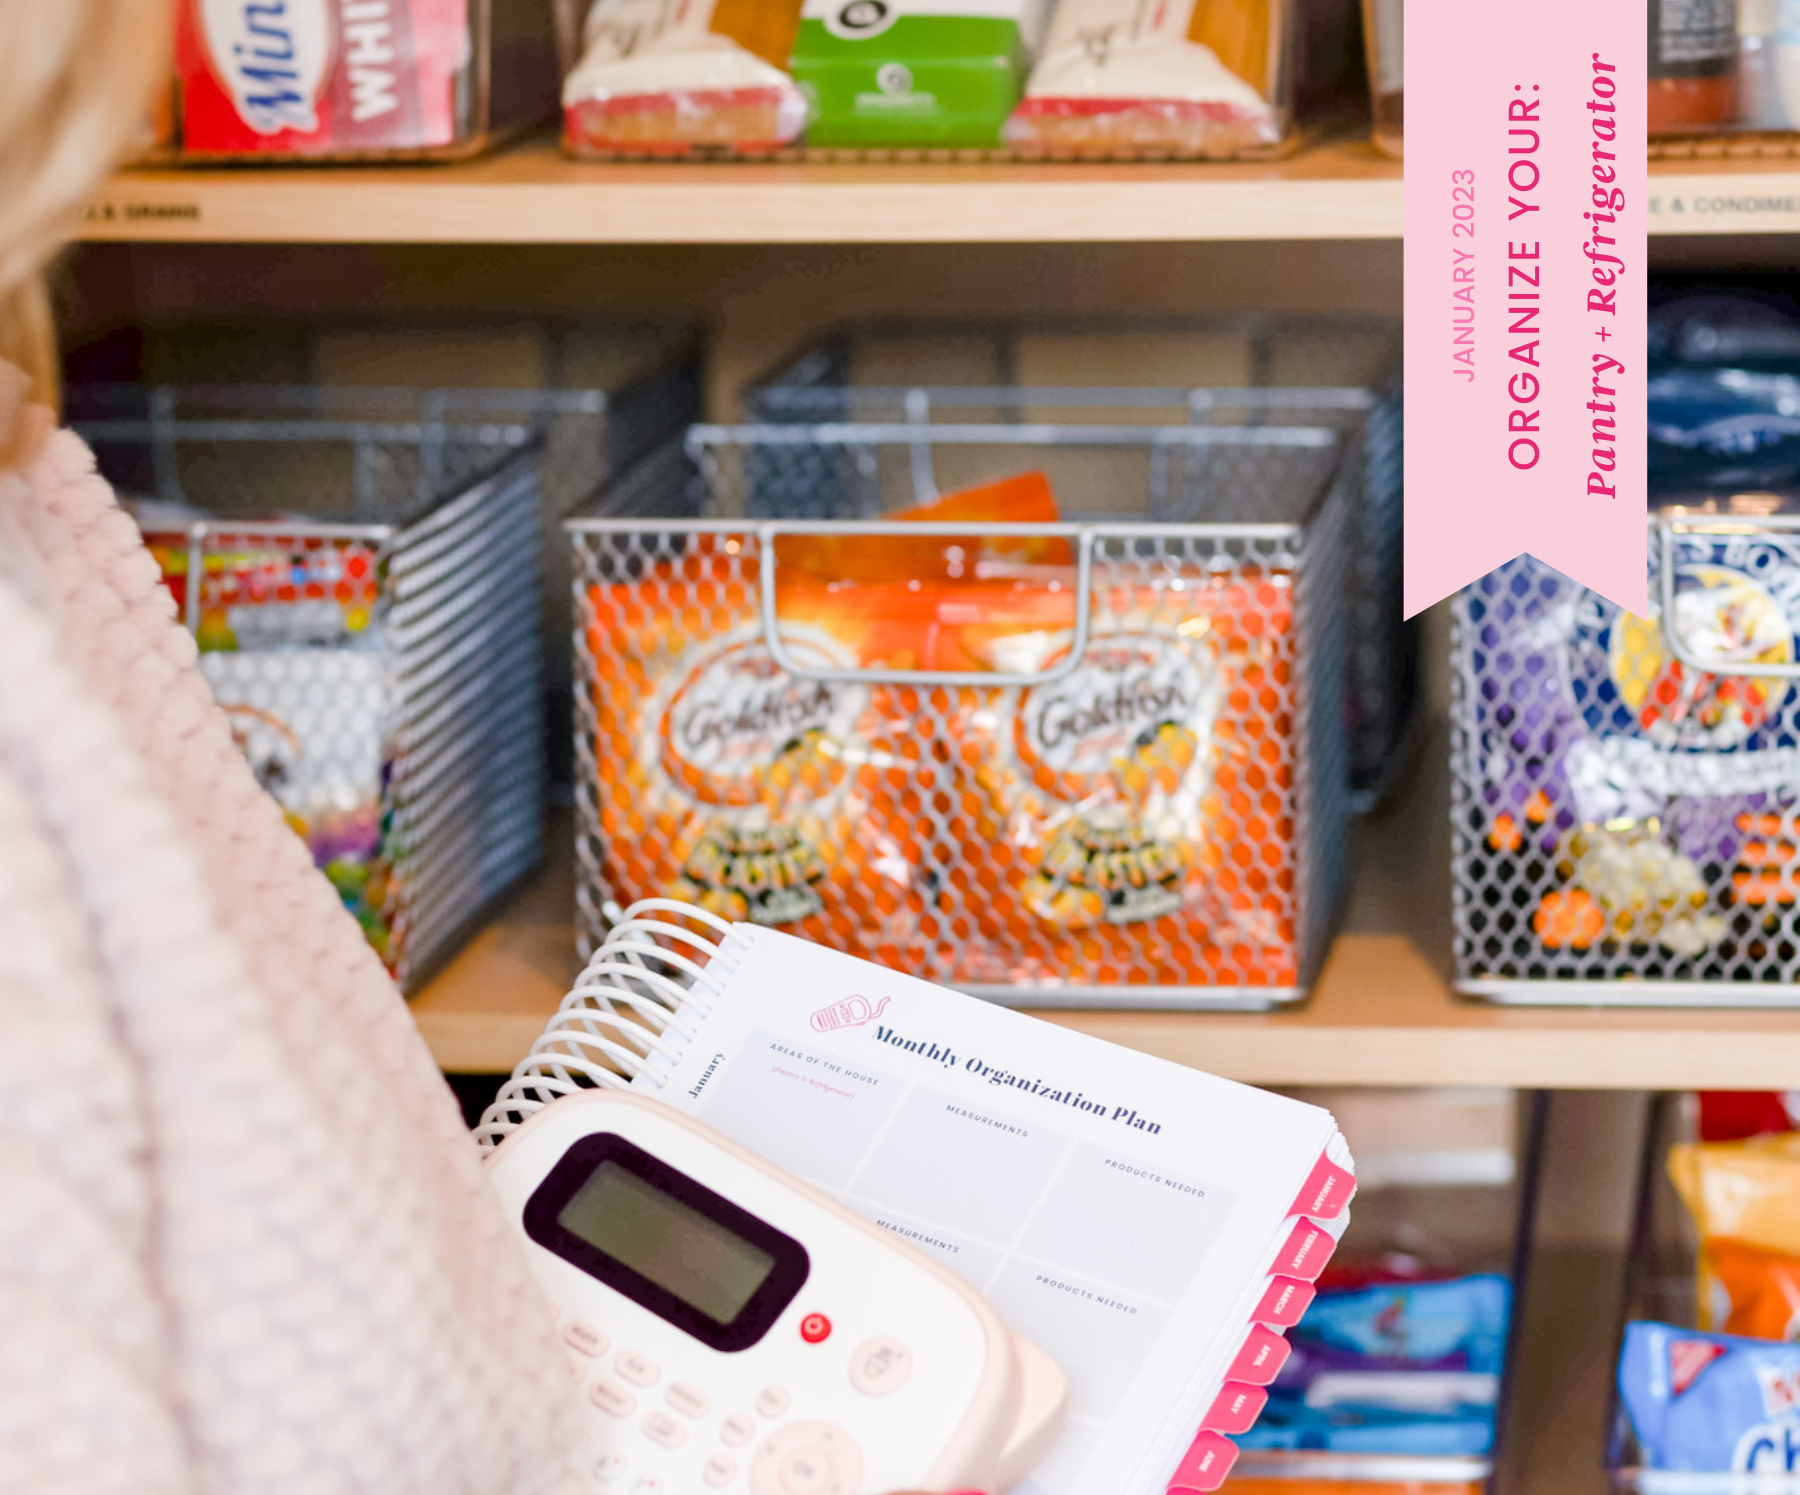
If you want your handwork to last this step is crucial. Label the zones or system that you created. This will make it so that everyone who uses this space can understand where items go. I love to use a label maker to do this, but handwritten labels or premade labels are great alternatives.